2. 2&3D Modelling
This week I modelled my FabLab project idea in Fusion 360.
The CAD model will be essential for manufacturing my project.
2D work:
When 3d printing things for my own small projects I used raster and vector graphics a lot already. I am a certified paint.net operator since I used it to create my own minecraft texture packs when I was younger.
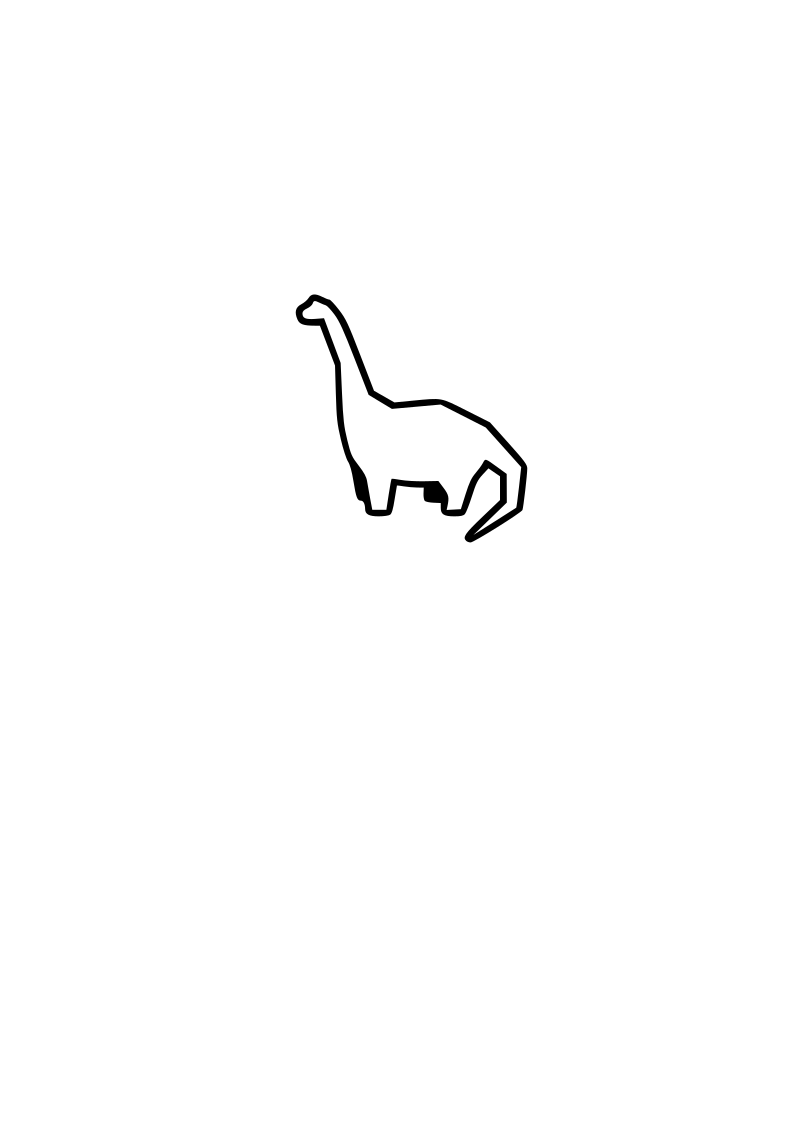
I got to use the experience again, when I wanted to sign some of my 3d print models with a logo: I used a 3d model of an Iphone case and wanted to customize it before printing it out of TPU. I imported the .stl mesh and grouped the surfaces so I could use a sketch to insert a logo into the design. I chose to design a dinosaur in paint.net:
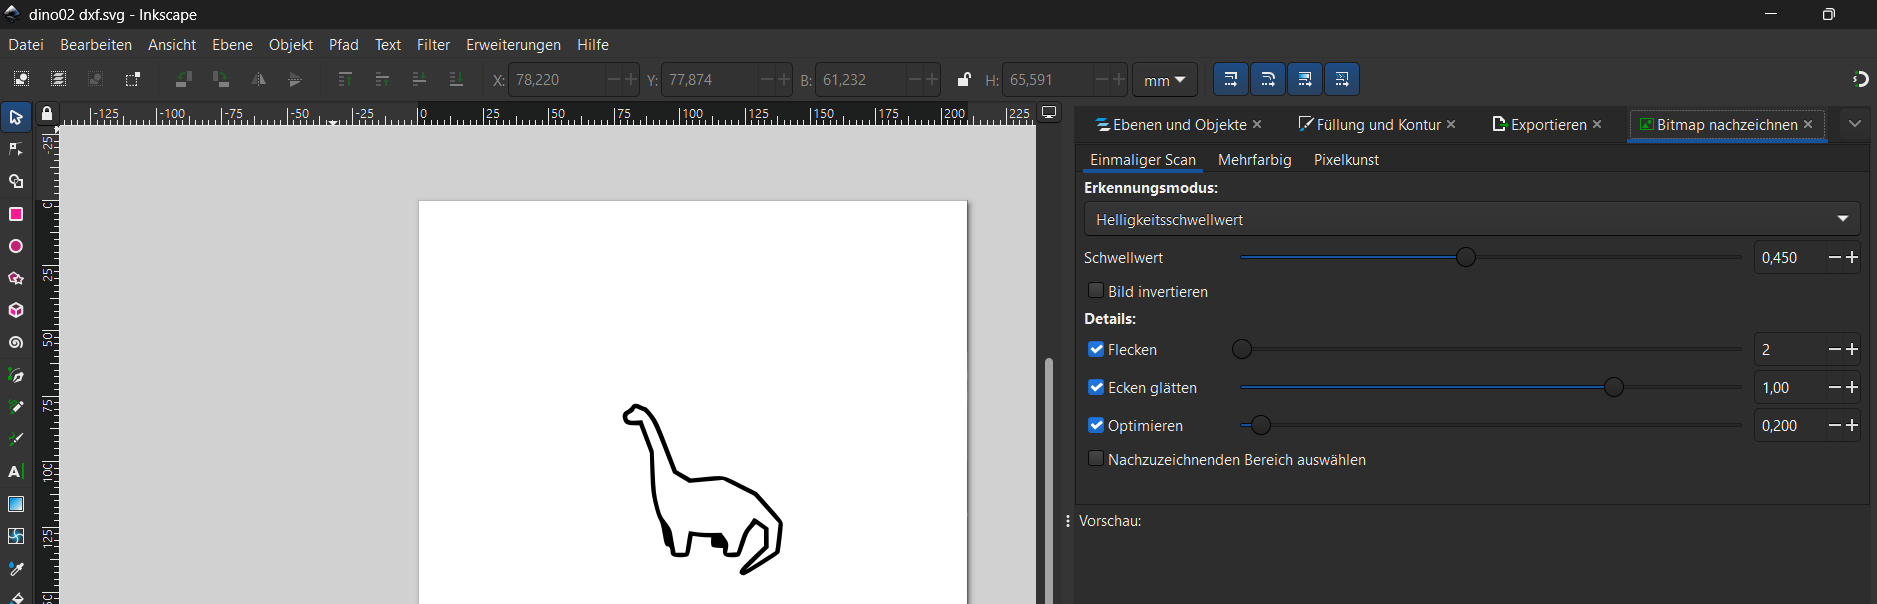
Since Fusion 360 allows you to use dxf (vector graphic file) in your sketches I needed to convert the raster file from paint.net (PNG) into dxf. I used the trace bitmap function in inkscape to create the dxf file:
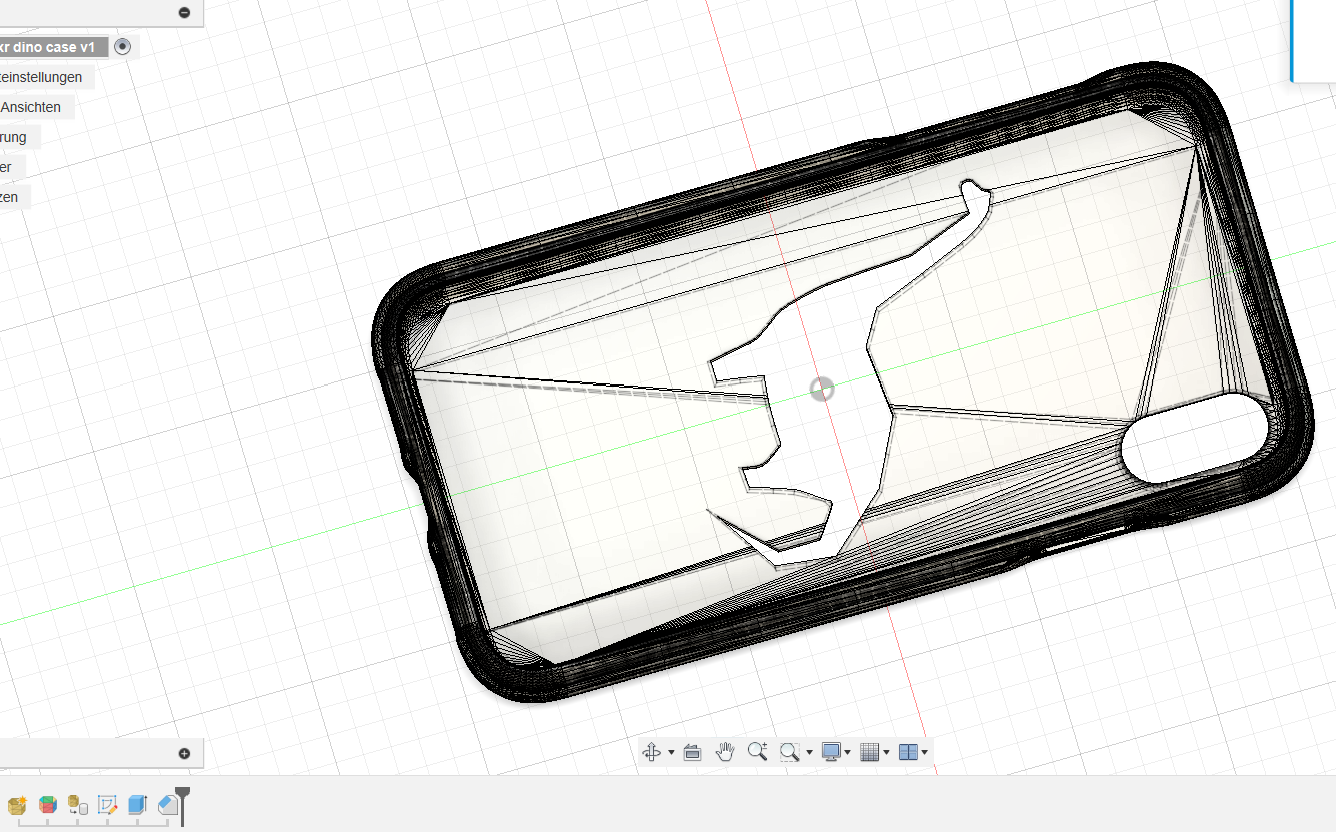
With the dxf file I went into Fusion and did a sketch which I subtracted from the phone case afterwards:
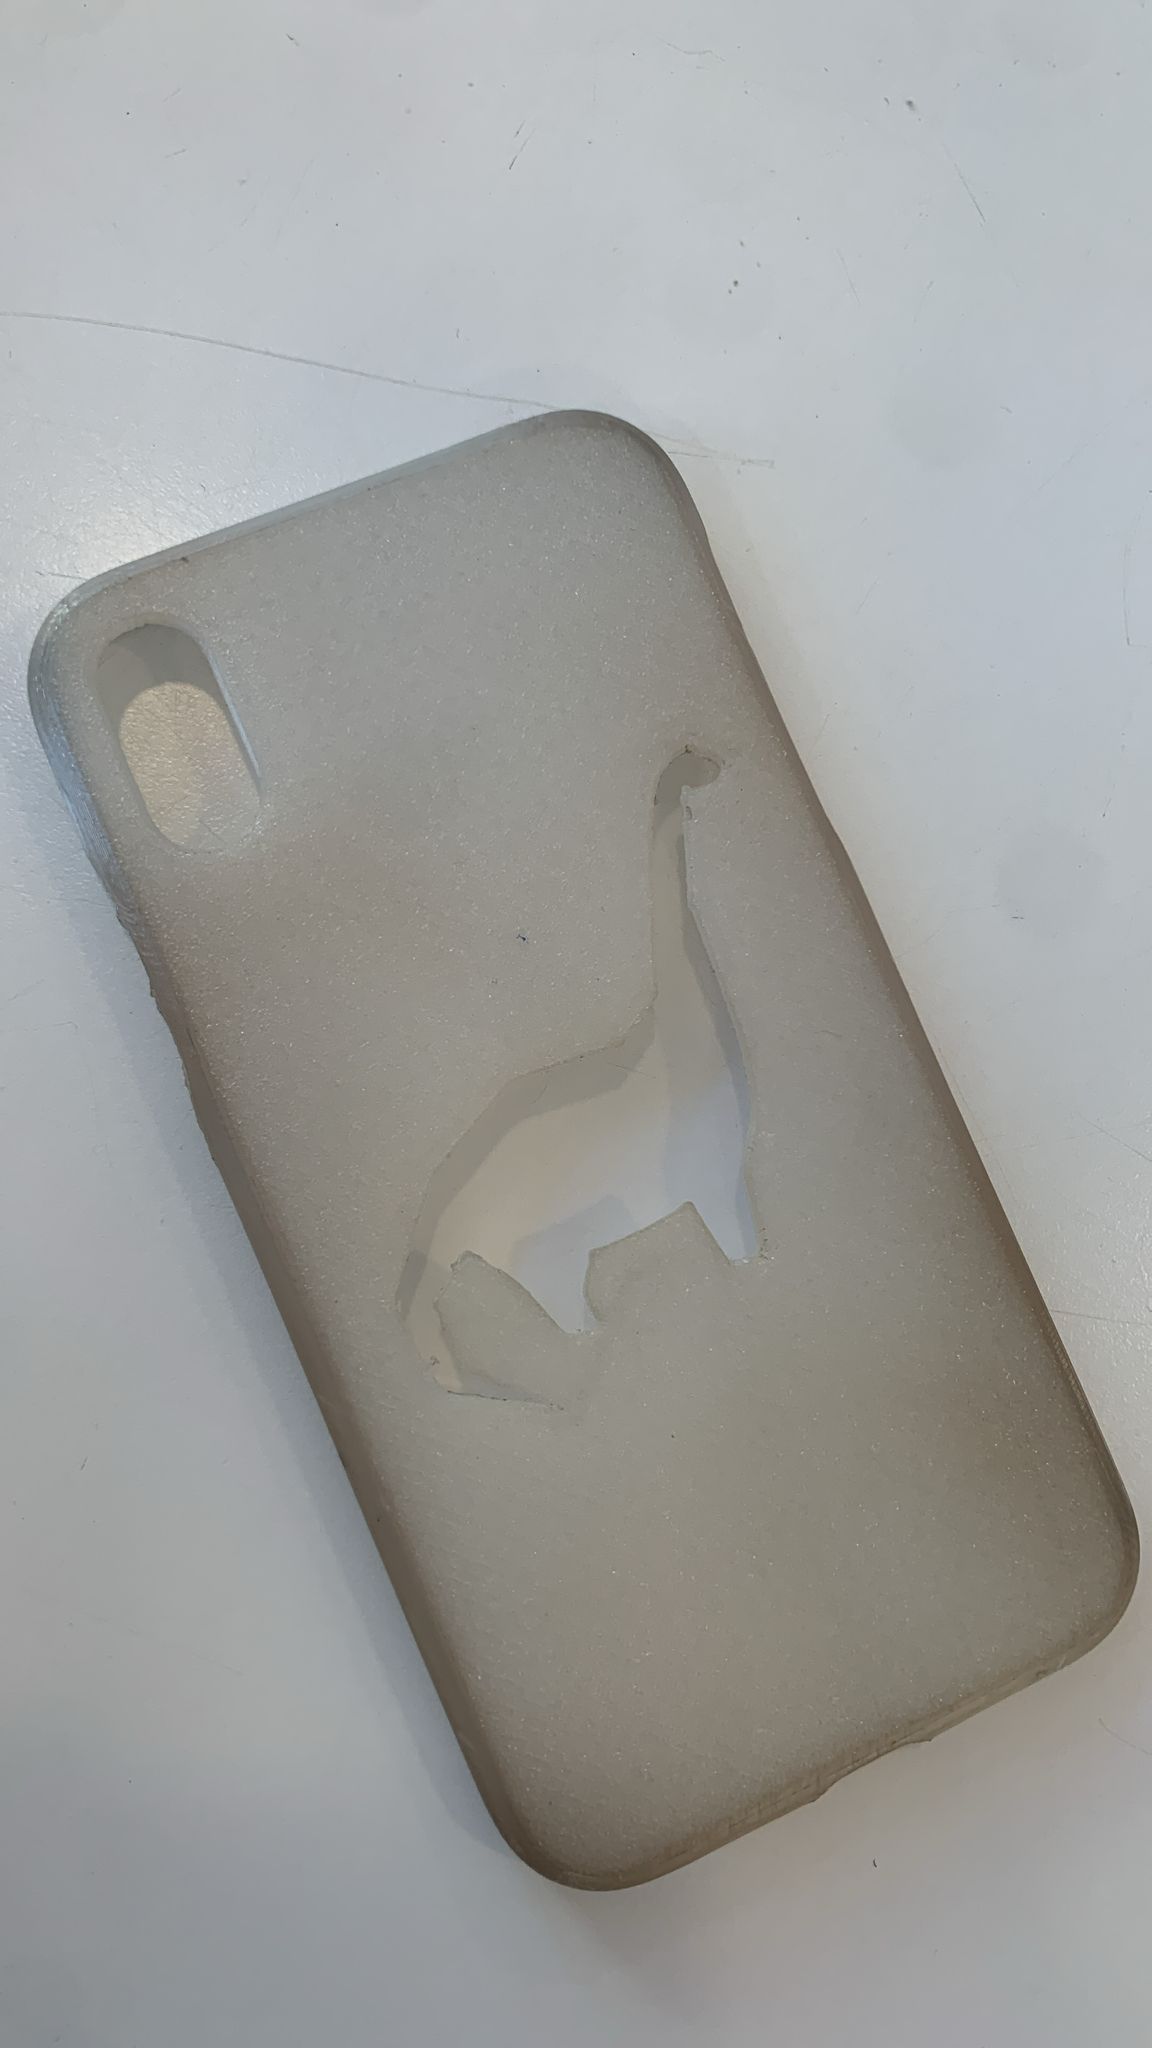
The model printed well and it turns out that the friend I did this for still uses the phone case after 1,5 years. Other but the plastic getting dirty there is no outer damage yet:
3D modelling of my final project
E-ink display:
I started to think of the display I wanted to use for the project. I came up with the 1,54" waveshare e-ink display . I looked for the CAD model on GrabCAD and found the model.
I downloaded the step file from the website and uploaded it into Fusion 360:
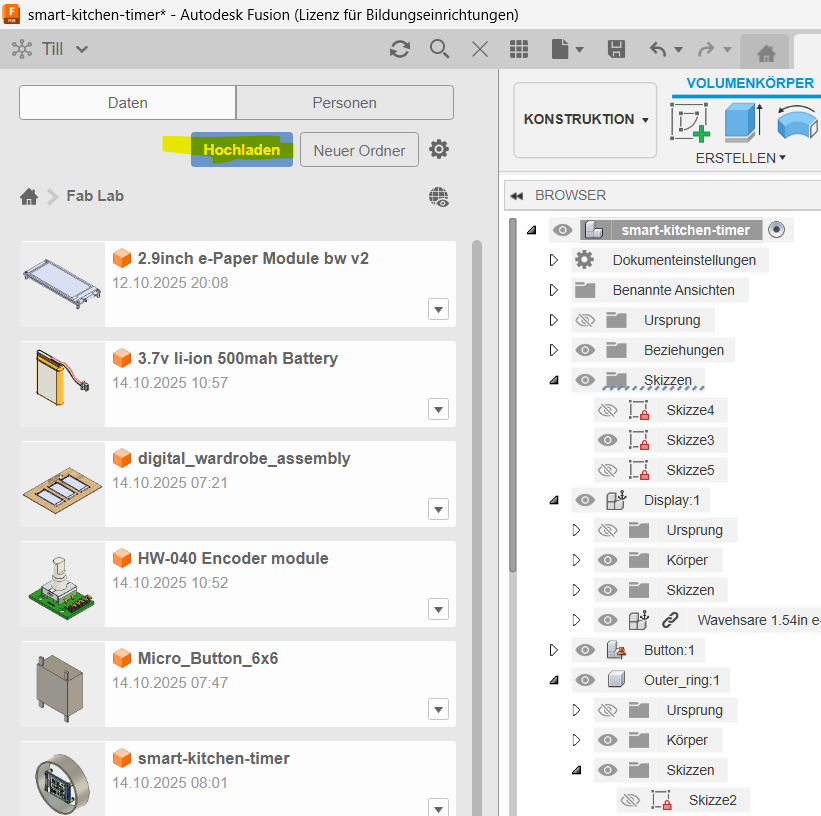
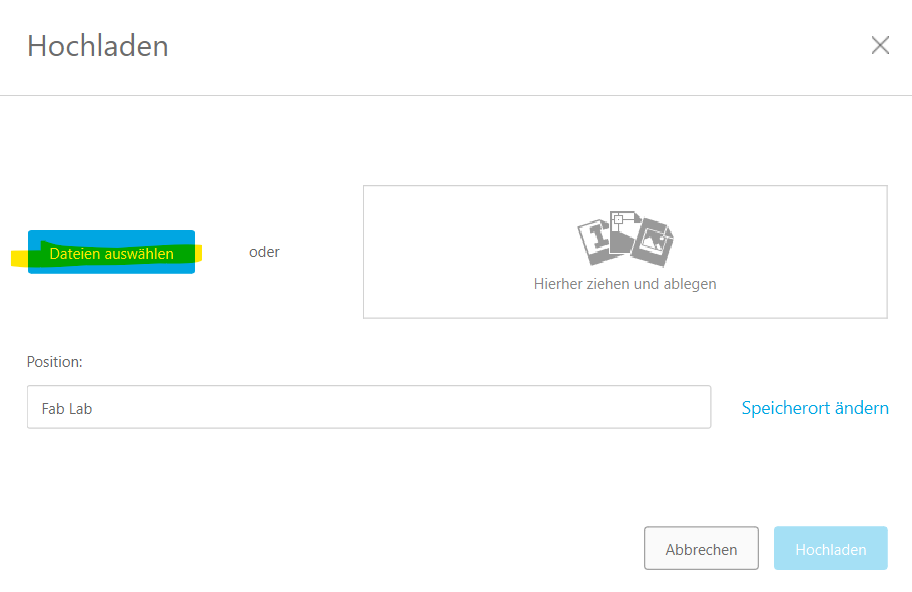
After the download was complete, I could insert it into my assembly, by drag and drop:
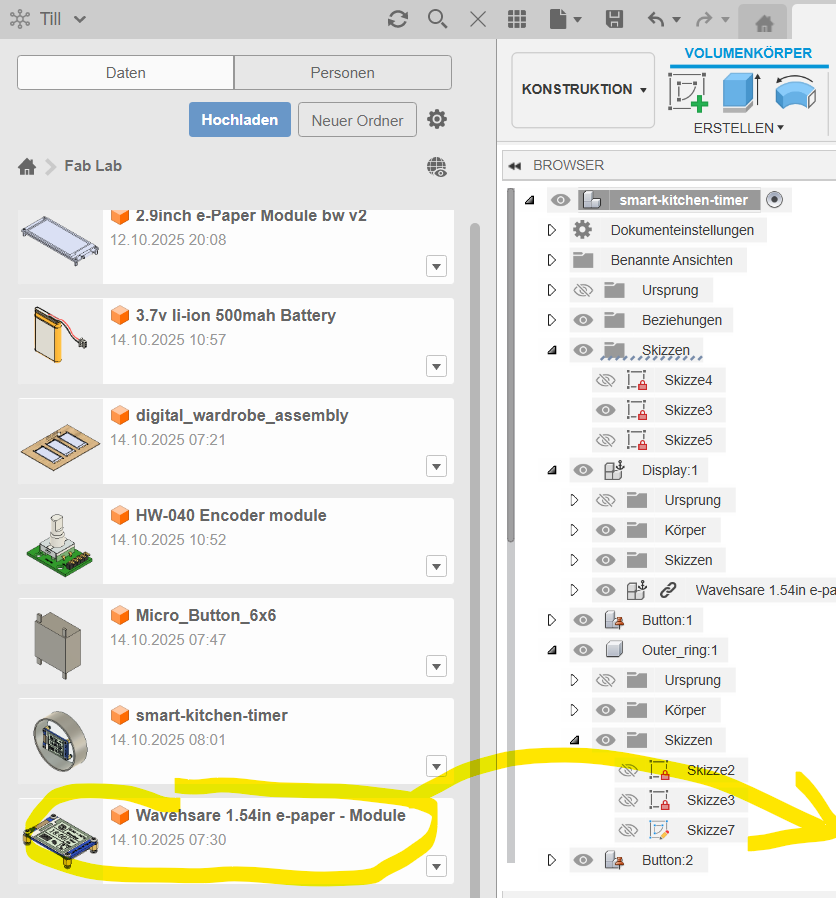
I did that for other components I needed for my build. Such as:
At first I had problems embedding this video here. With the help of chatgpt I found that this command worked:
<video controls playsinline style="max-width:100%; height:auto; border-radius:10px; box-shadow:0 2px 8px rgba(0,0,0,0.2);">
  <source src="/videos/output_video_web.mp4" type="video/mp4">
  Your browser does not support the video tag.
</video>
Here the (now playing ) video of my CAD assembly:
So i didn't model a lot of parts myself.
Outer ring:
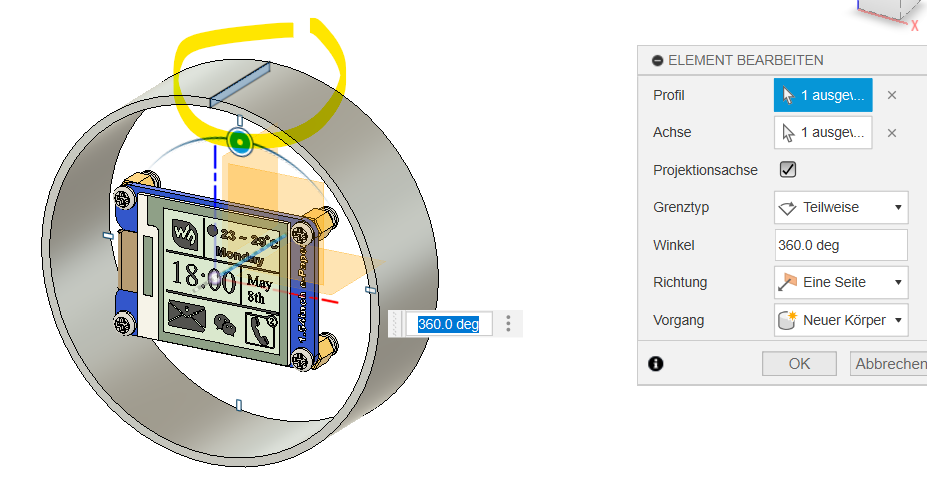
The first one is the outer ring that is turnable.
I just turned a sketch around an axis:
For the textured walls i used a round pattern for the spiral feature: I created the first part of the spiral:
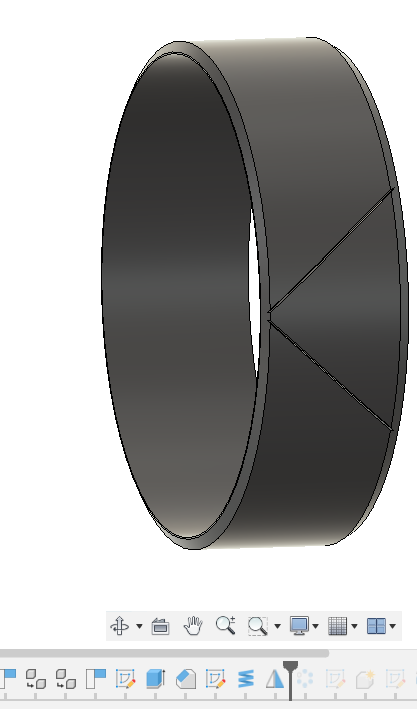
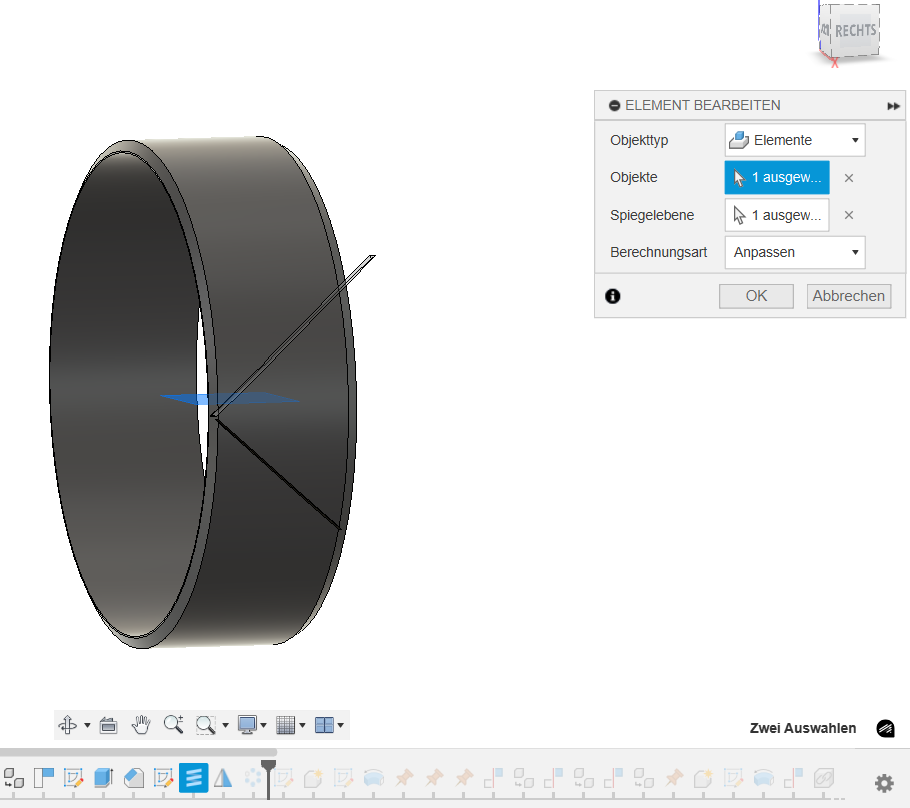
Then I mirrored it to the opposite site to have opposite facing features to create a cross when arranging circular over the cyclinder:
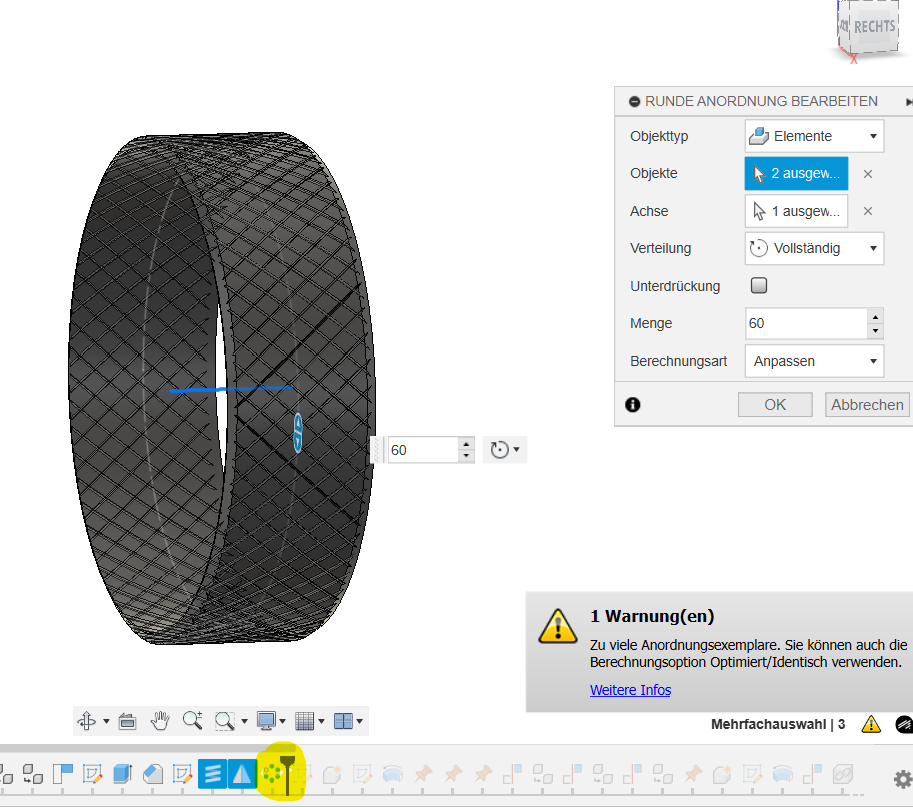
After mirrowing i arranged both "slits" 60 times around the cyclinder surface:
Button caps:
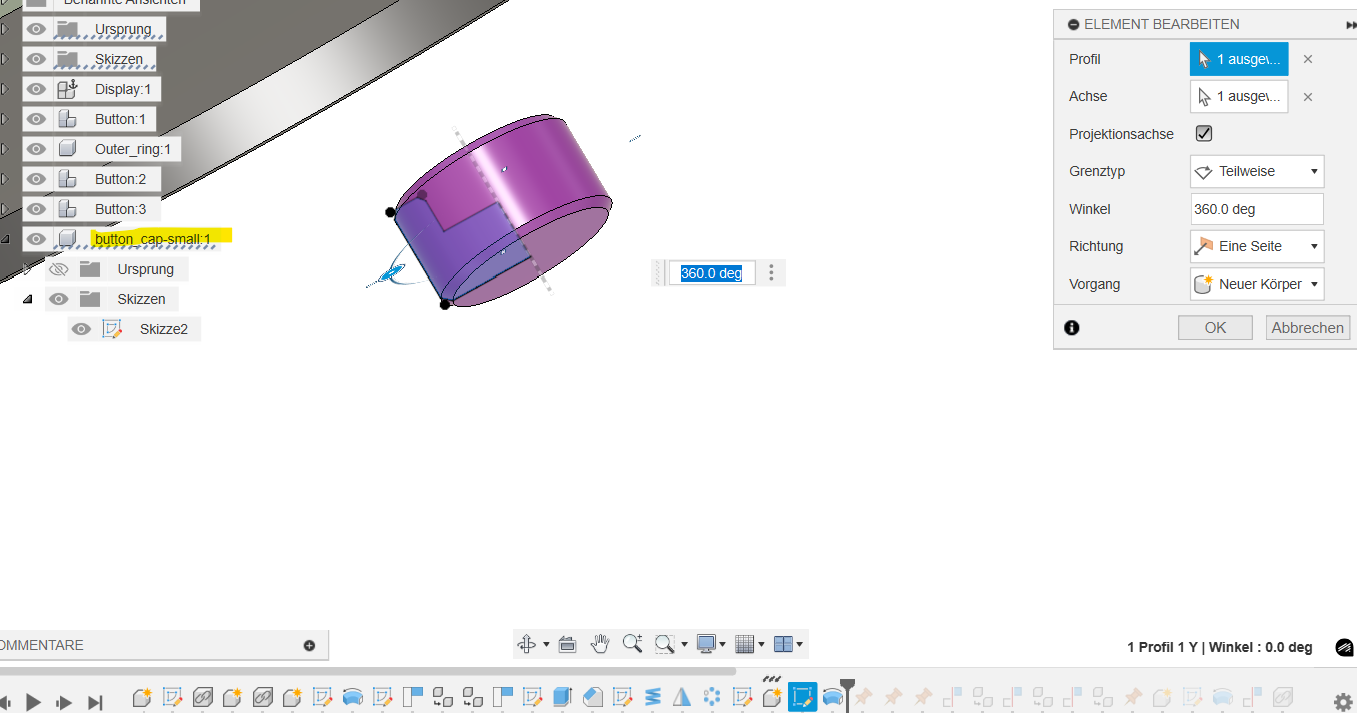
I turned a sketch of the button caps around the corresponding axis:
Display cover:
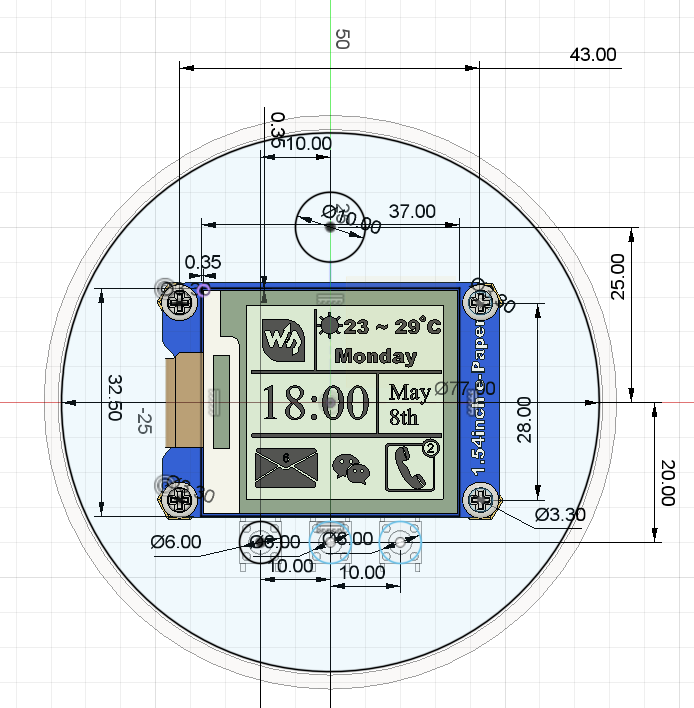
After I imported the e-ink display into the assembly I created a sketch for the display to fit through. I considered holes for the screws and buttons. Then I extruded it for 2mm:
Changing part appearance:
I used the appearance function to colour my parts to make the assembly look clearer and also to get an impression on how the device comes together:
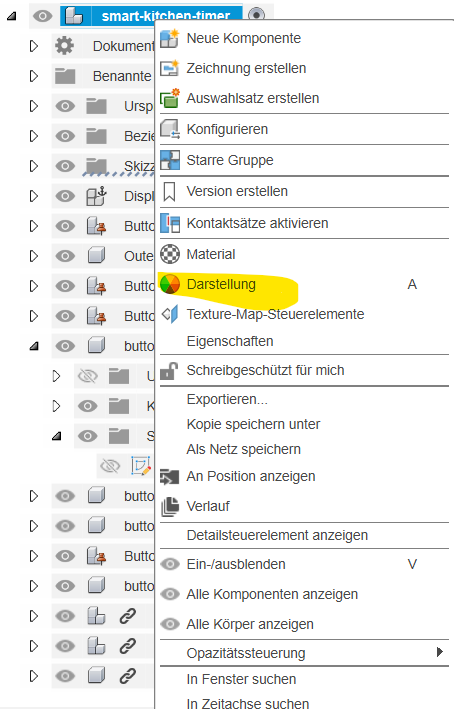
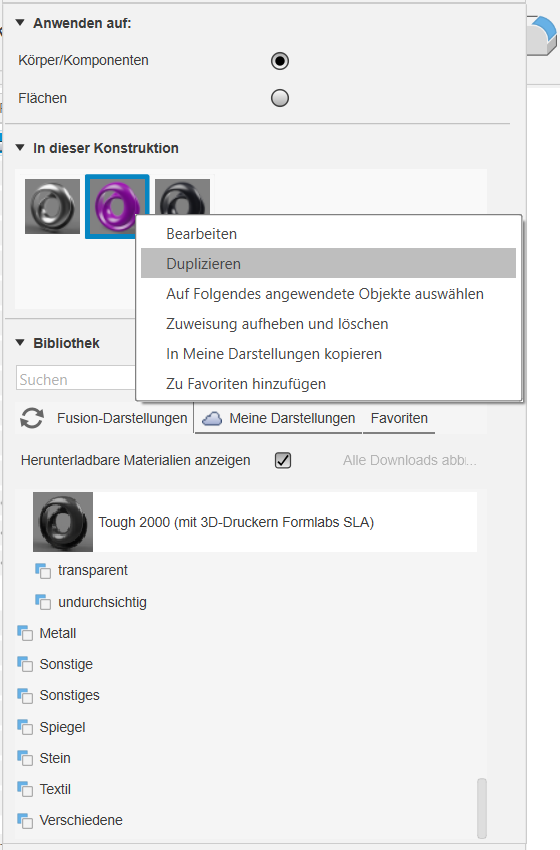
I picked a material and cloned it to have different colours. By drag and drop I painted the different components. The material selection can also be used to simulate assembly (for example structural FEM analysis).
Animation video:
For the video of my whole assembly I used the animation function in Fusion:
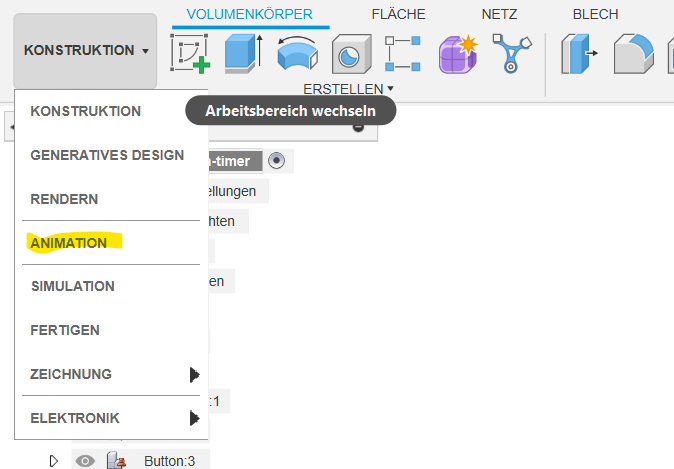
I followed this youtube video which explains it well enough to make a simple video.
Compression with ffmpeg
To compress files I used ffmpeg. Often I used the commands for videos provided in the moodle room. I linked the overview file in the files below. Chatgpt is great in giving out ffmpeg commands.
To use the commands, I opened a bash console in the folder where my file is in. Then I paste the command and make sure that the input and output file name is correct. Then execute.
Most commonly used commands:
Image compression command:
ffmpeg -i input.jpg -q:v 5 output.jpg
-i input.jpgdefines the input file-q:v 5defines the strength of the compression. Valid values are between 2 and 31. High values mean more compression.output.jpgdefines the output file
It is also possible to use .png or .webp files and also to convert them into each other.
The command compressed this 5184 x 3888 image from my camera (7,87 MB):
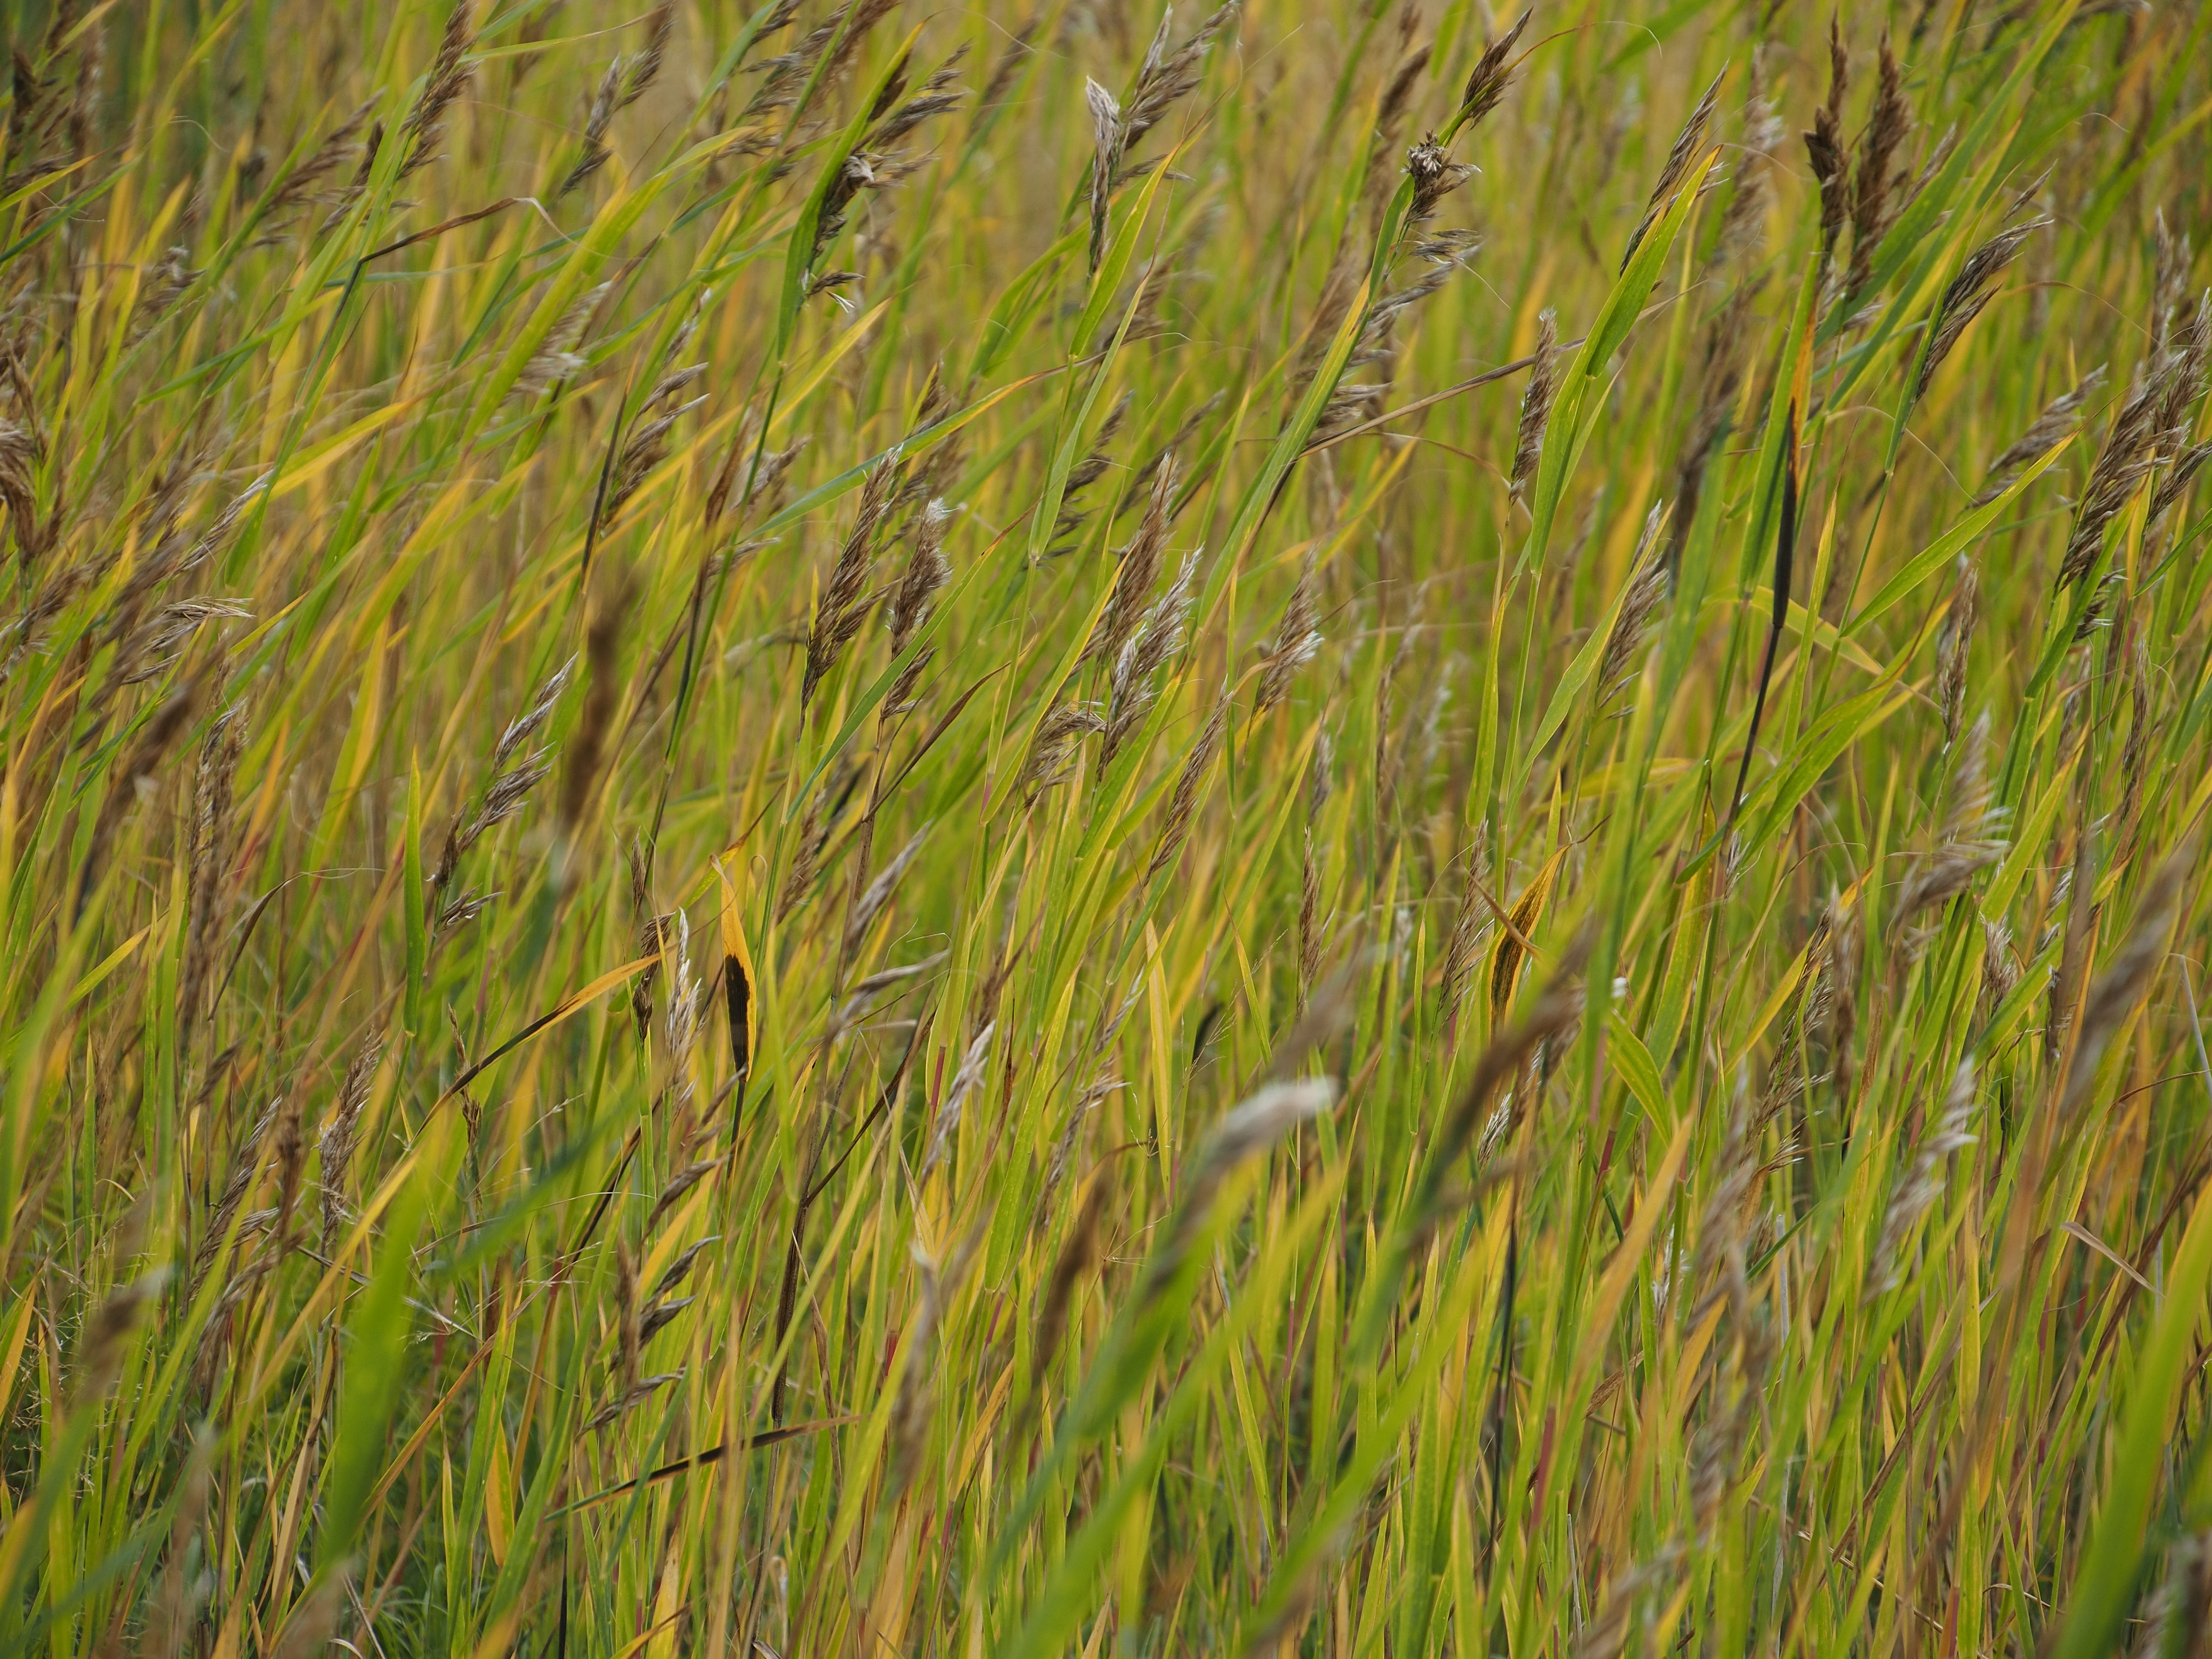
To 1,6 MB:
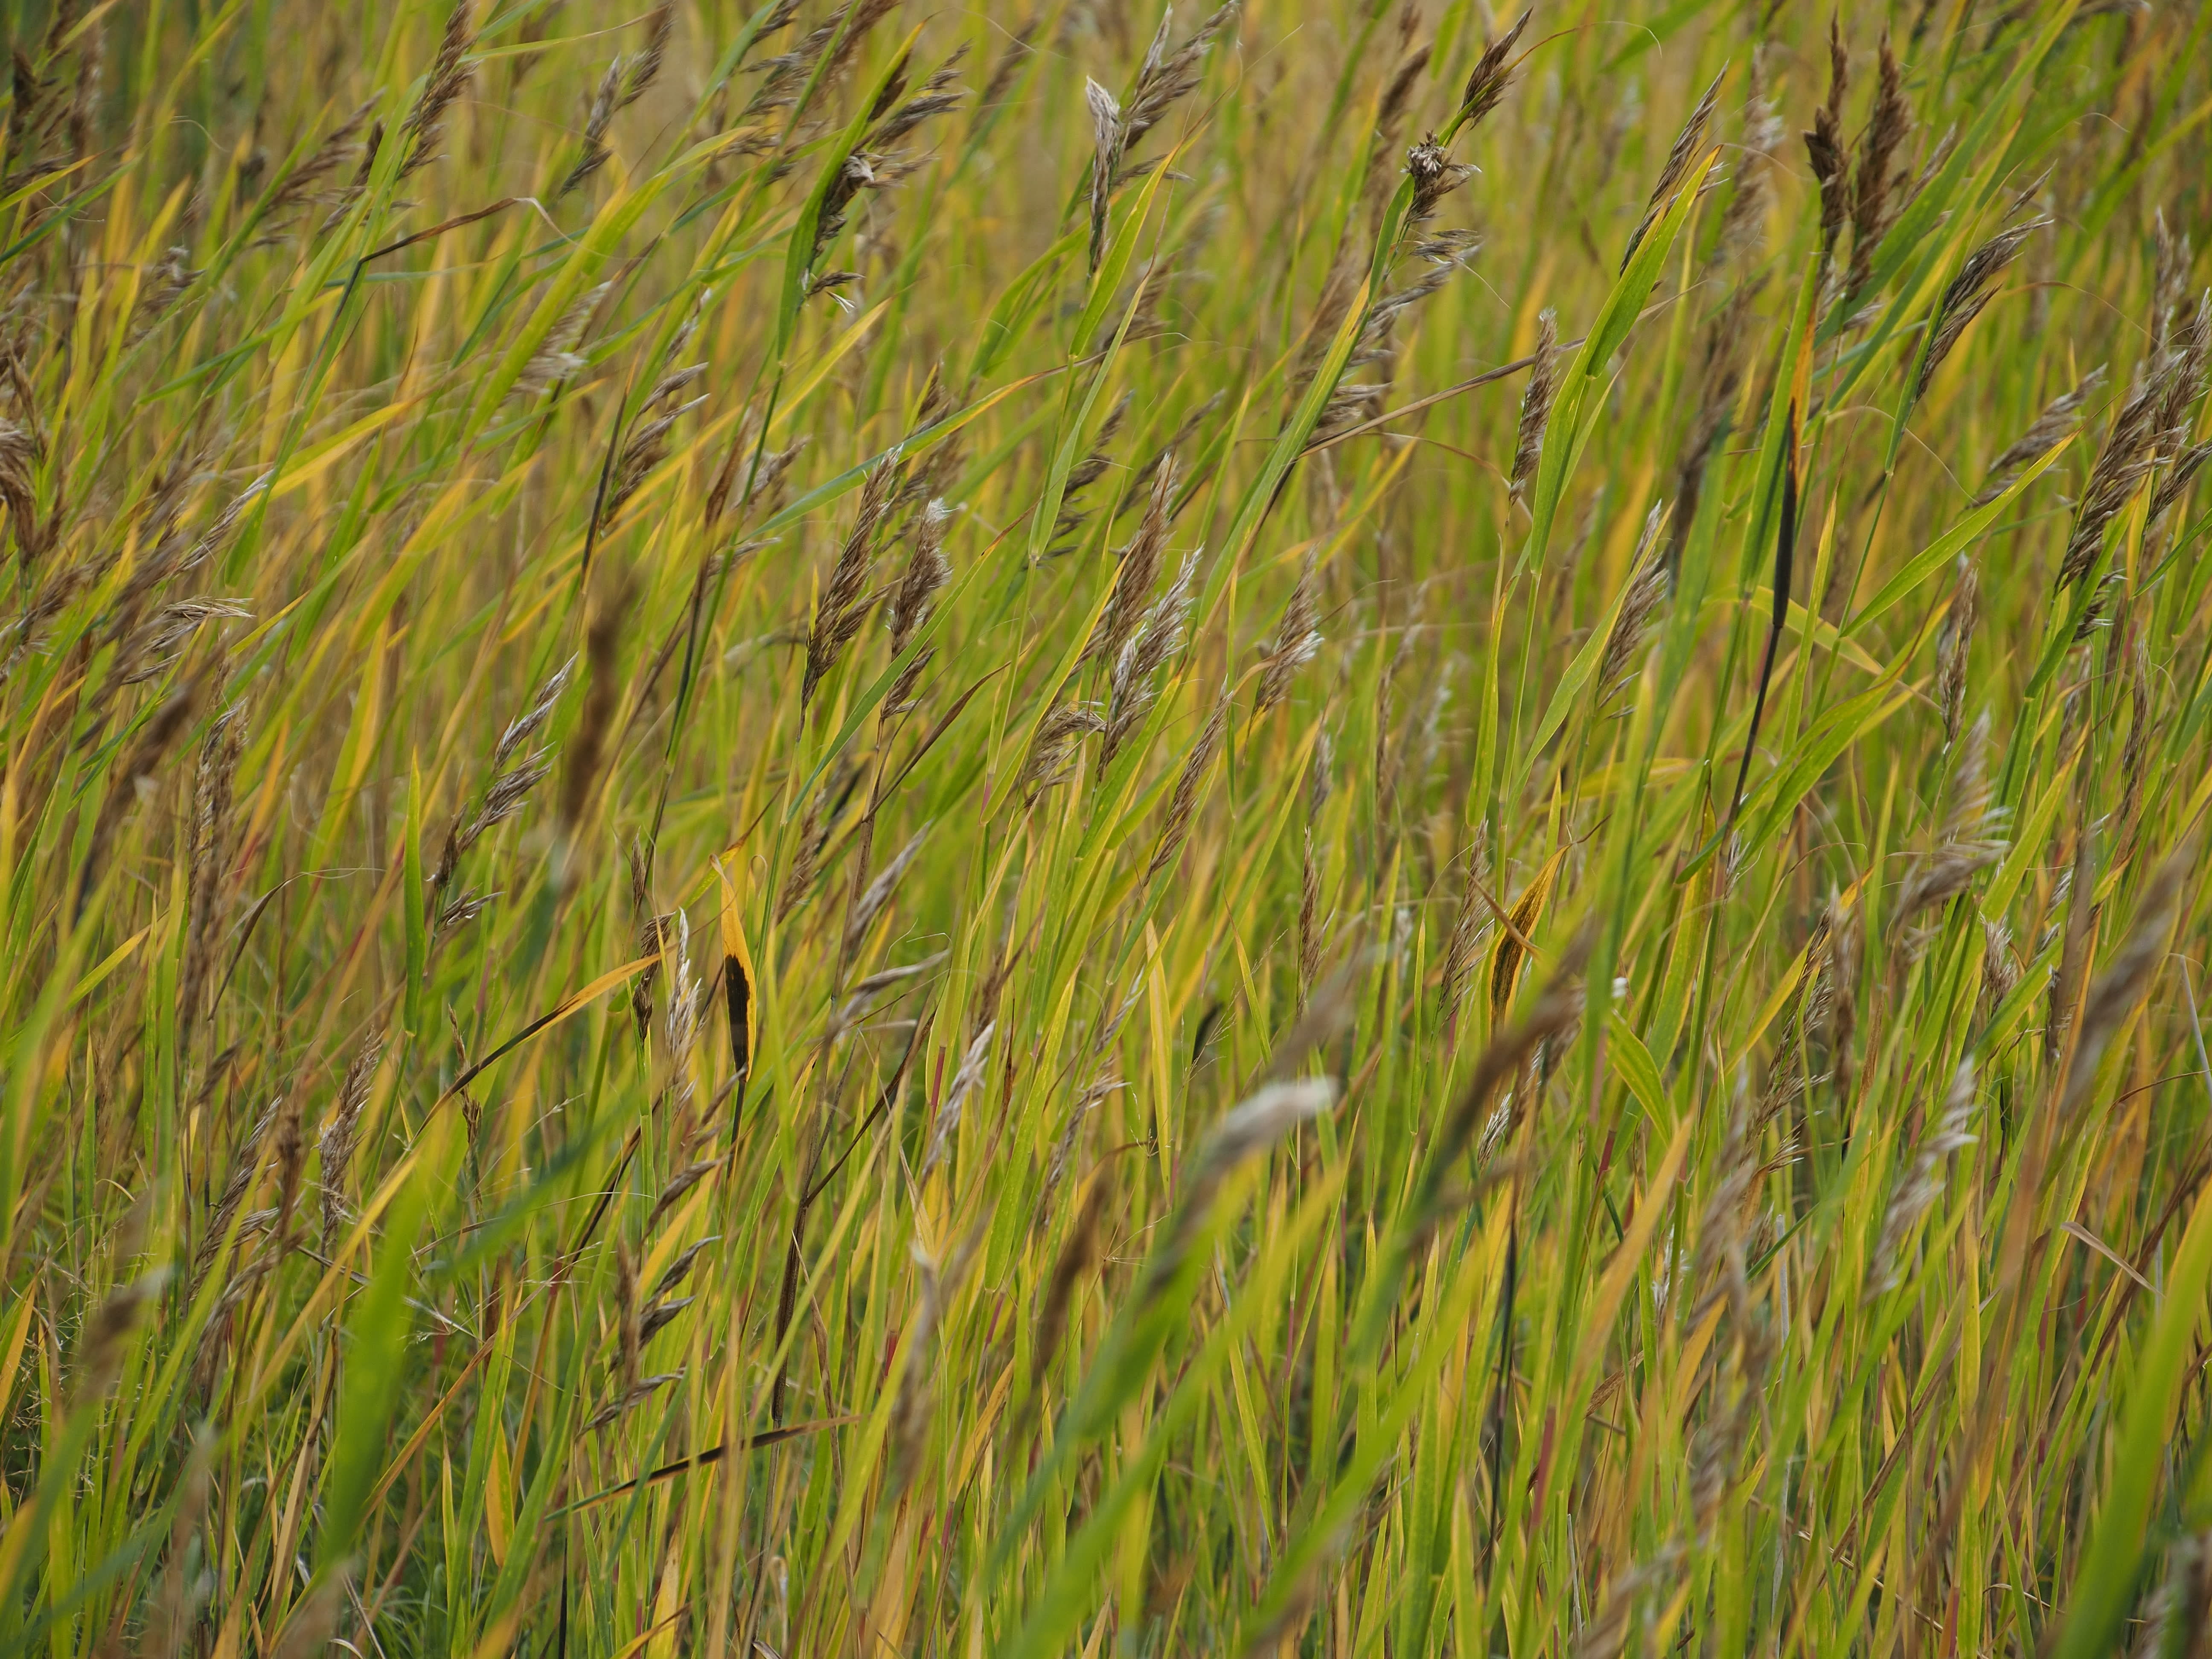
Using a max strength parameter of 32 it can be compressed to 588KB:
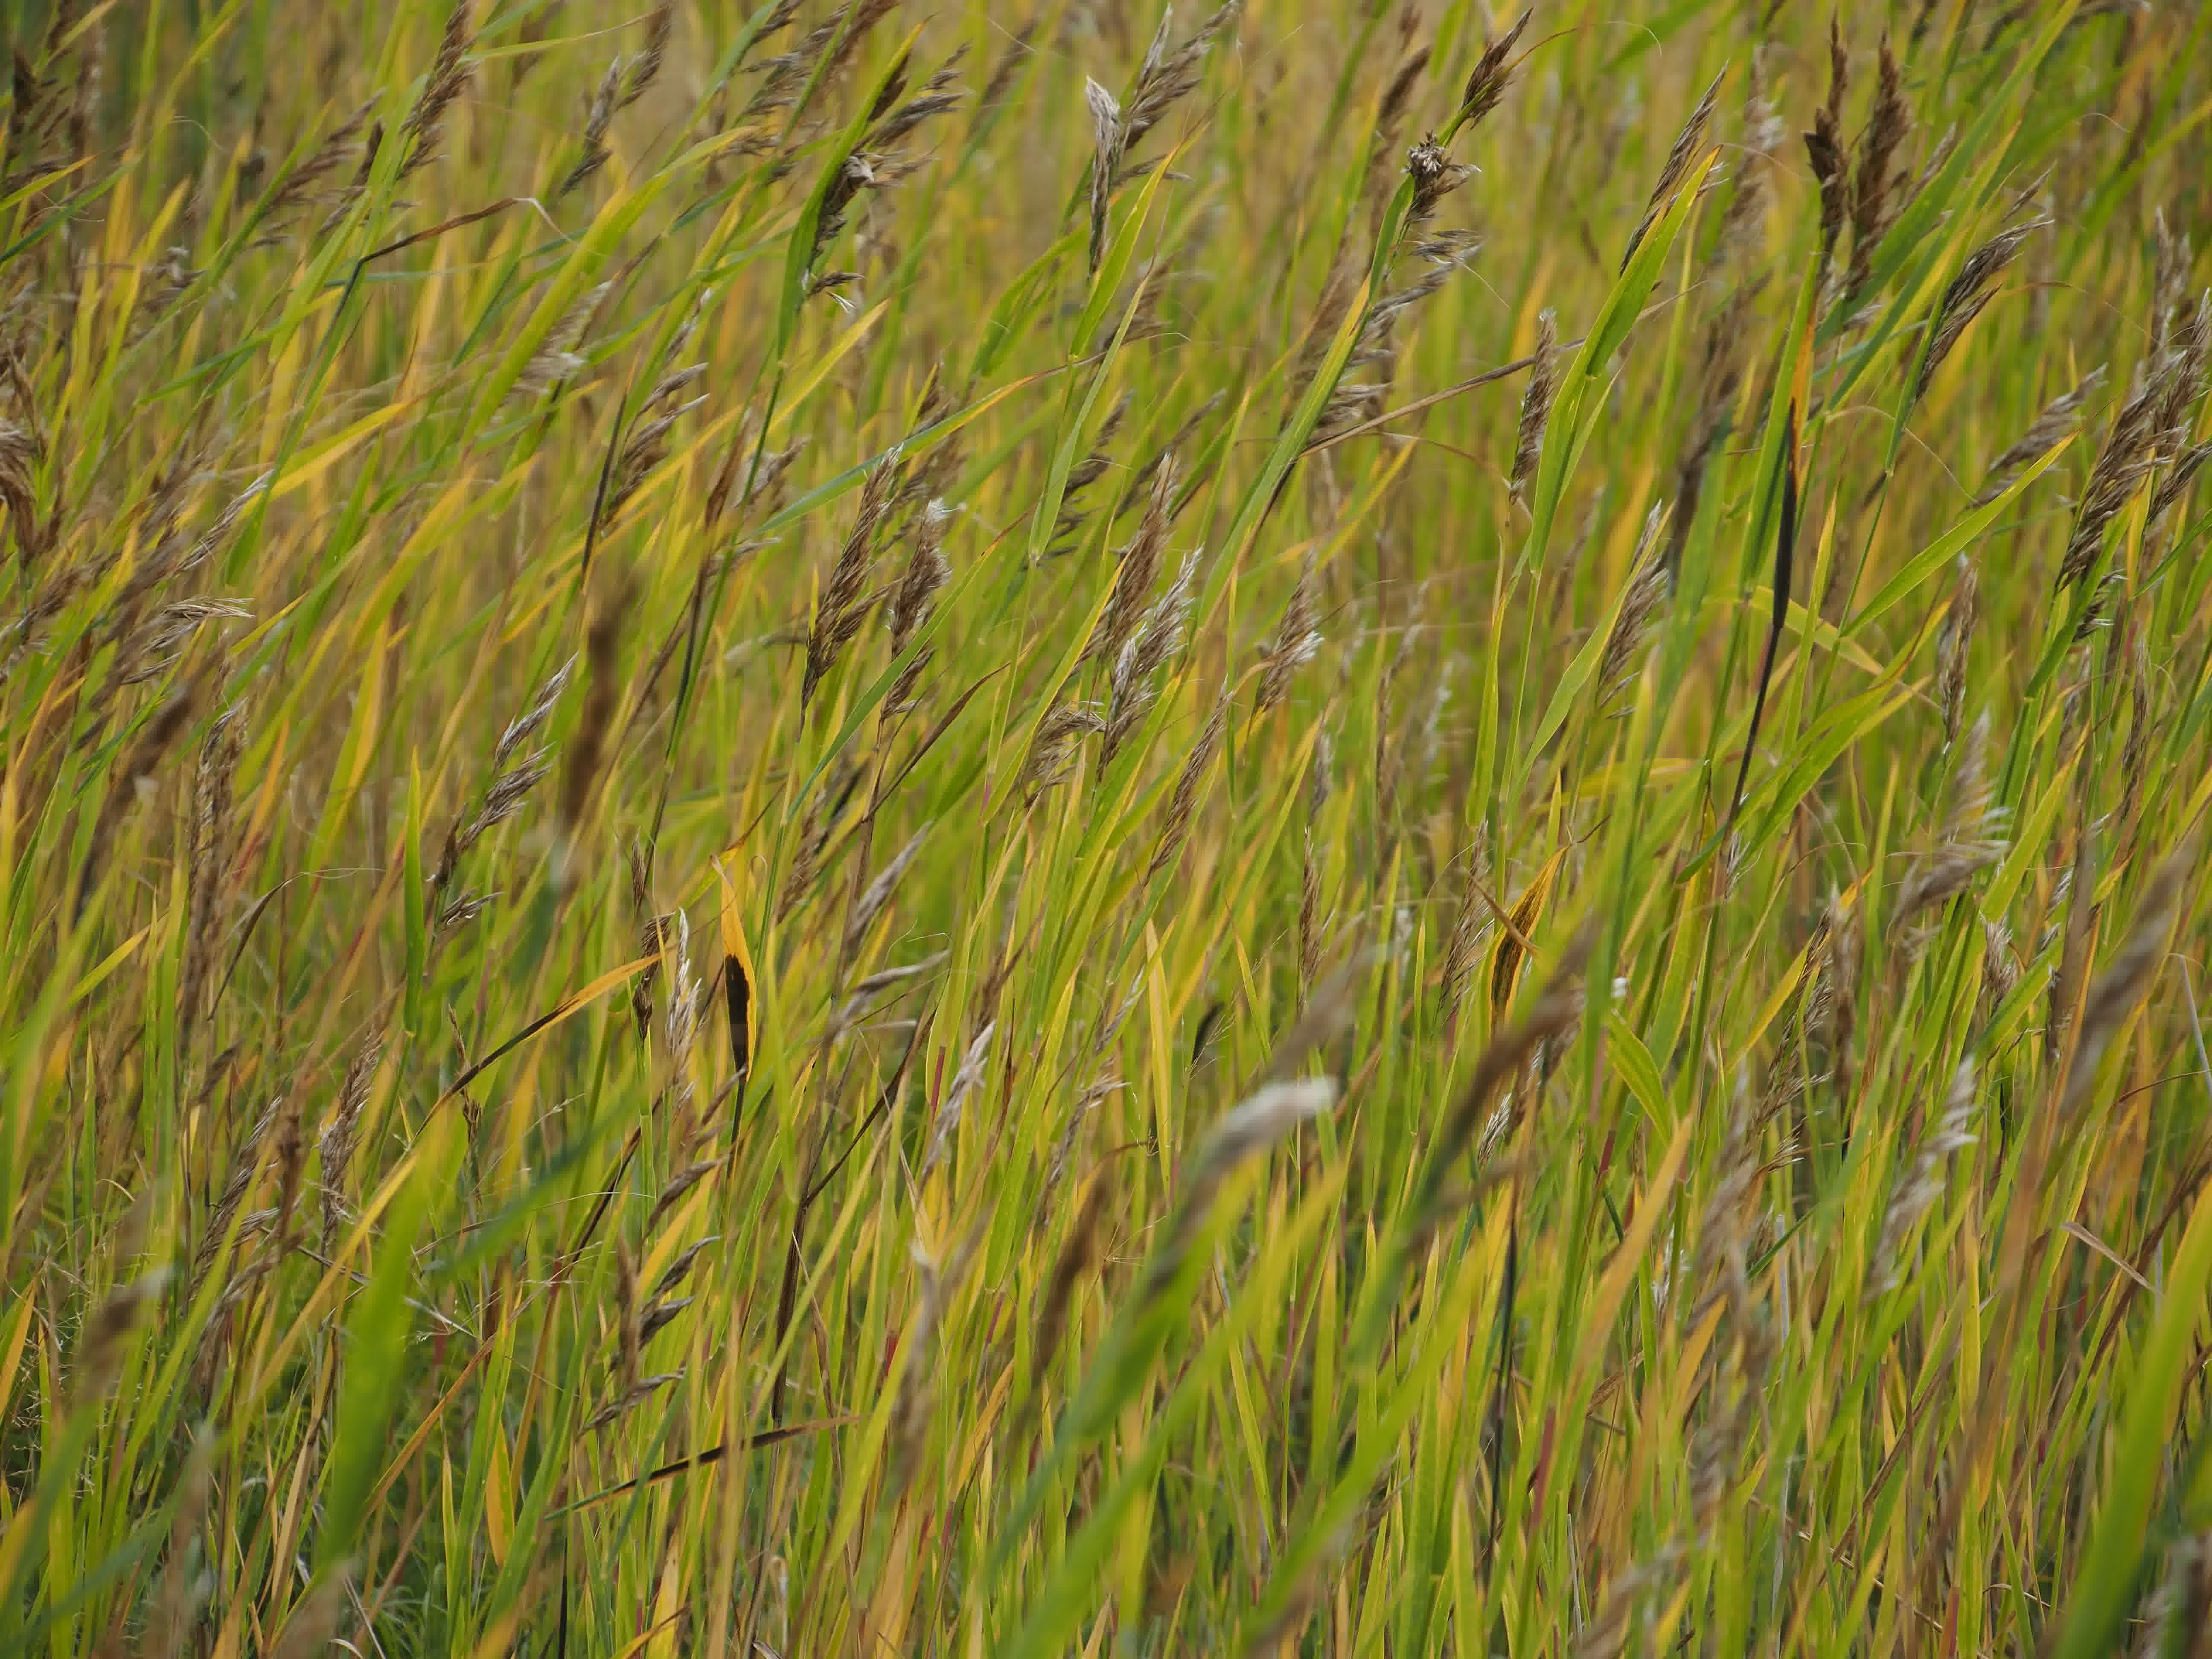
Further file size compression requires downsizing this image to a lower resolution.
This command can downsize the resolution to 1920 pixels and will adjust the height of the image proportionally:
ffmpeg -i input.jpg -vf "scale=1920:-1" -q:v 15 output.jpg
It reduces the 7,87MB image to 144KB:
Video compression:
I always used one of the two commands from the moodle:
- variable bit rate 1080p MP3:
ffmpeg -i input_video.mp4 -vcodec libx264 -crf 25 -preset medium -vf scale=-2:1080 -acodec libmp3lame -q:a 4 -ar 48000 -ac 2 output_video.mp4
--> took example video from 67,2MB to 7,93MB
- smaller size keeping resolution:
ffmpeg -i .input_video.mp4 -vf scale=-2:1080 -c:v libx265 -crf 30 -preset slow -tag:v hvc1 -c:a aac -b:a 80k output_video.mp4
--> took example video from 67,2MB to 7,39MB but might work better for other videos.
Further compression might need a change in resolution (same as for the images).
Used files
| File | Format | Download |
|---|---|---|
| ffmpeg commands | .txt |
Download file |
| dino vector graphic | .svg |
Download file |
| single step files | .step |
Download 7zip folder |
| assembly step file | .step |
Download assembly as step |
| assembly fusion file | .f3z |
Download assembly as fusion file |